
Creating New Classes (Step 5)
This article will explain how to create classes. This can be done by creating new classes or by copying current year classes.
Create New Classes
To create a new class click on Religious Ed via the top navigation bar and select Class Maintenance.

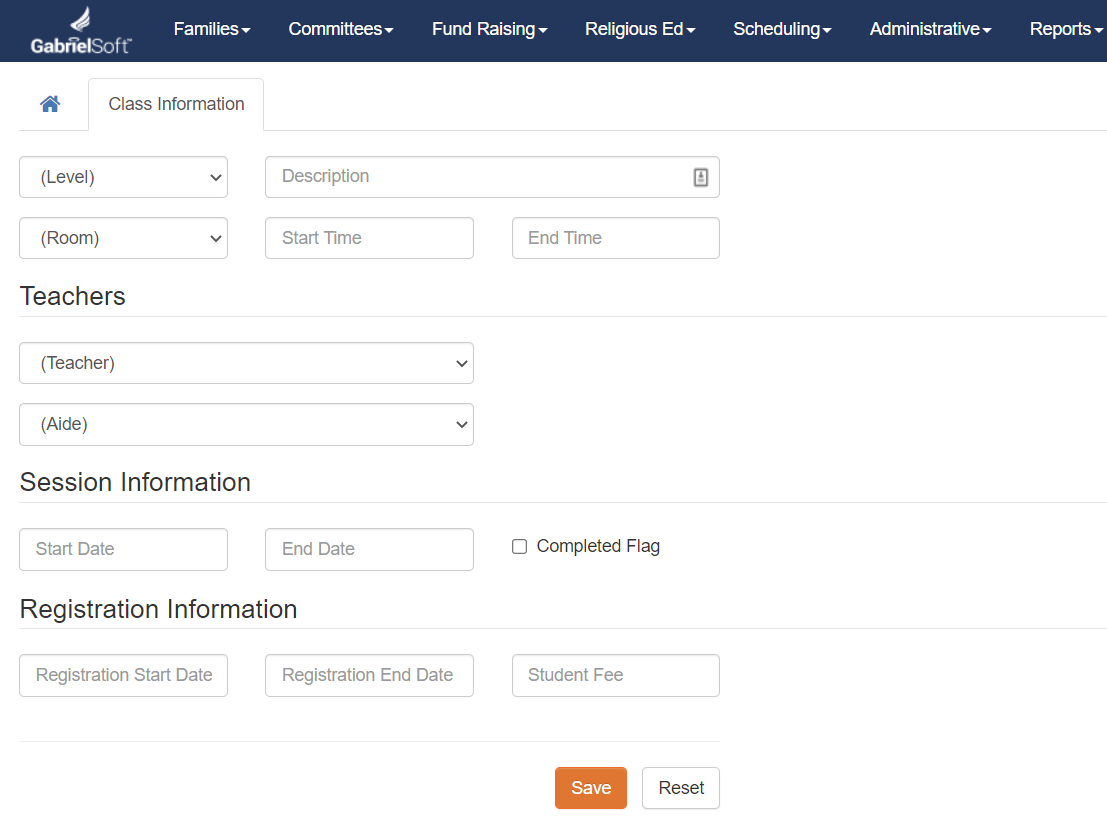
(Level) - Click on the drop-down and choose a Level. The Level which is taken directly from the description column that you entered in Level Maintenance.
Description - The second field is for the DRE to enter a description of the class. If for example, you have multiple classes for the same grade level you might want to put 1st Grade Saturday 9:00 am Class.
(Room) - Click on the drop-down and choose the room where the class will meet.
Start Time - Enter the time the class starts.
End Time - Enter the time the class ends.
(Teachers) - Choose the teachers from the drop-down menu. This list is taken directly from the Religious Ed Teacher group listing you created under Groups. Teachers can be assigned to multiple classes.
(Aides) - Choose the aides from the drop-down menu. This list is taken directly from the Religious Ed Aide group listing you created under Groups. Aides can be assigned to multiple classes.
Session Information - Enter the Start Date and End Date for your Religious Ed Program.
Completed Flag - When you have completed all your classes at the end of the year and you promote your students, this box will automatically be checked and all the students who are currently in your Religious Ed Student Group will be moved to the next level based on your Level Maintenance setup.
Copy Class from the Current Year

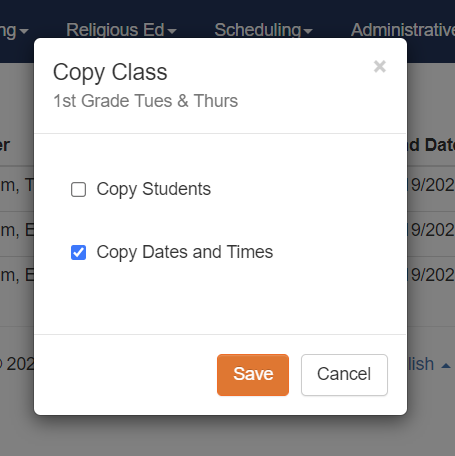
The Class Information Tab will pop-up on your screen where you will need to edit all the fields to reflect your new classes. Please see step 2 above for an explanation of each field in the Class Information Tab. Click Save once you update all the information.
Once you have created all your classes you can now add students to your classes: Adding/Editing and/or Deleting Students from a Class
