
How to upload and attach files to a message
To upload and attach files to a message in Connect, navigate to the message composer and click the Insert (+) menu in the message formatting toolbar.
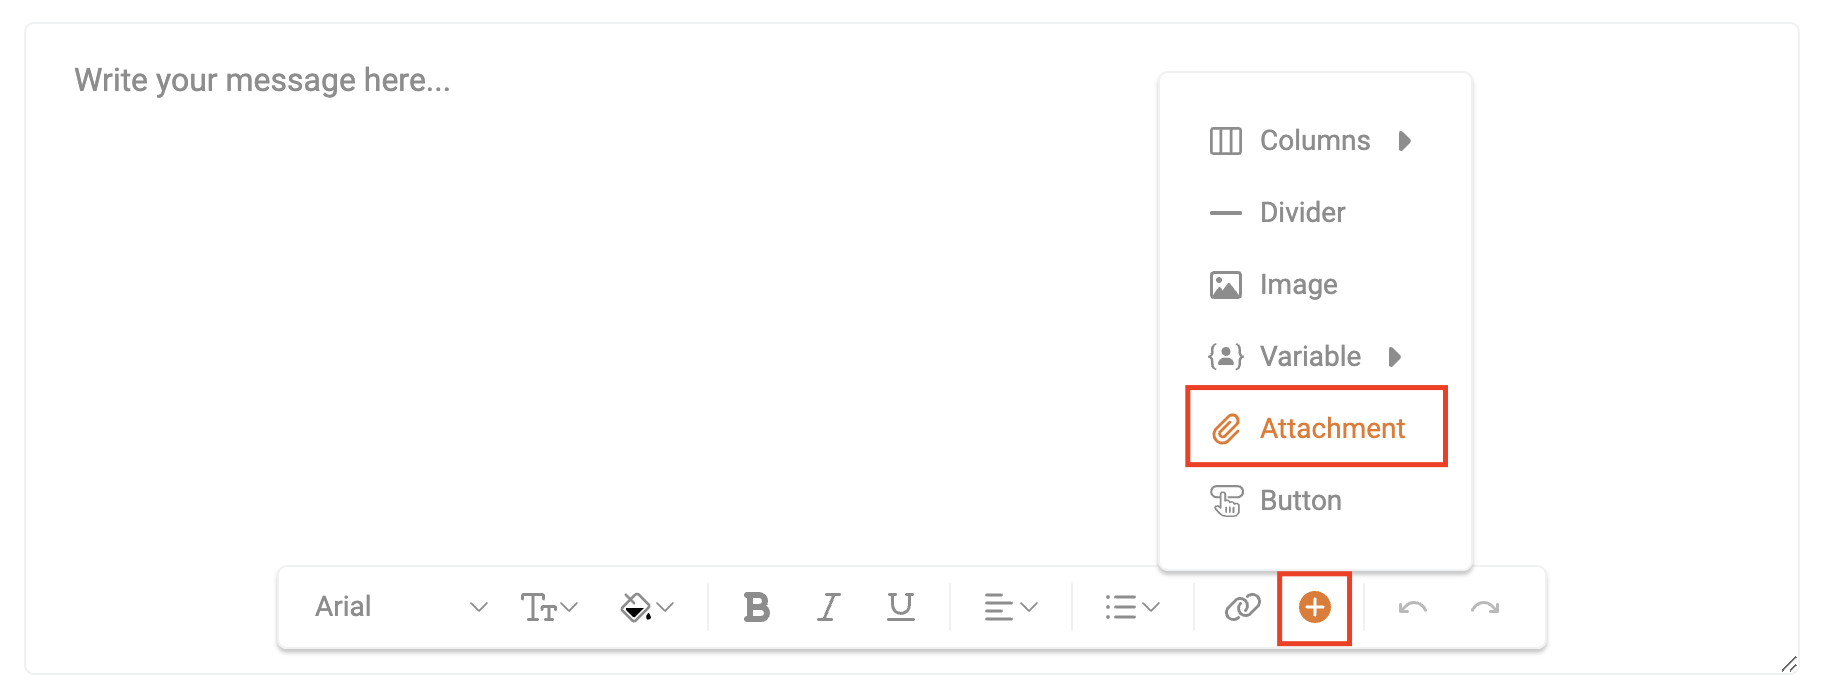
Click the Attachment option to open a window that will allow you to drag-and-drop a file(s) onto the screen. Instead of using drag-and-drop, you may also click the box to open the file selector on your computer to select the file(s) you want to upload.
Once the upload has finished, the files will be added to the message. The attached files will appear beneath the message composer.
To remove an attached file before sending, click the trash can icon next to the file name.
After you send the message, the file attachment(s) will appear at the bottom of the message for all recipients. Recipients will be able to click the file name to open and view the file in their web browser.
File limitations
- File size limit: 25 MB
- Number of files that can be attached to a single message: 10