Creating A New Diocesan Appeal Fund
Before you can enter any contributions, process batches, or import online giving contributions for an Annual Appeal, you must create a fund. A new fund should be created for each new Annual Appeal.
Note: Prior to creating a fund, ensure that you are in your diocese's database and not a parish's database. You can verify by looking at the URL in your browser, as diocesan databases always have 0 as their Church ID.

- Go to Funds > Fund Maintenance.
- Click + New Fund. A Fund Creation window will appear.

Important Note: Funds created by diocesan users in Church 0 appear in the Diocese tab when church-level users go to Funds > Fund Maintenance. Church-level users can both see and access these Diocese funds.
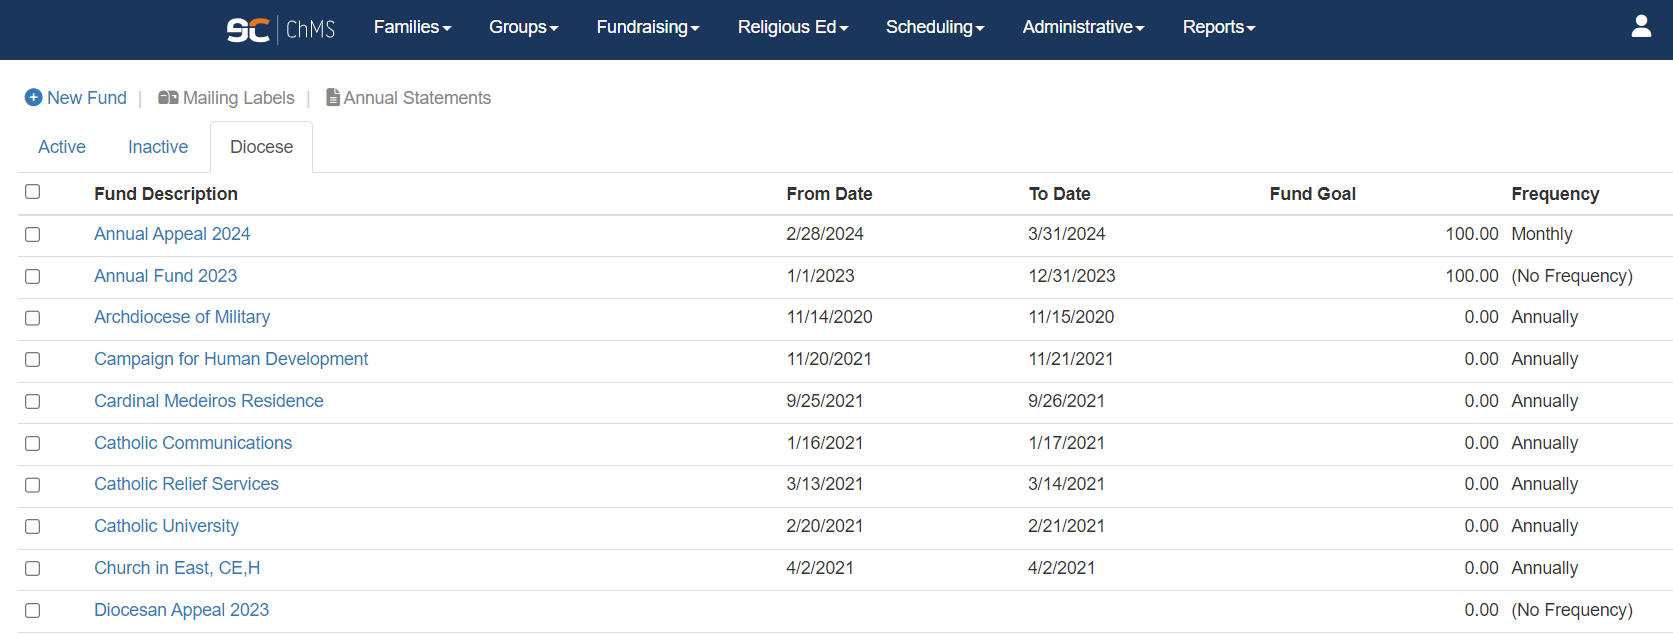
Please communicate with your parishes your diocese's expectations and protocols surrounding moving, entering, etc. contributions in these Diocese.
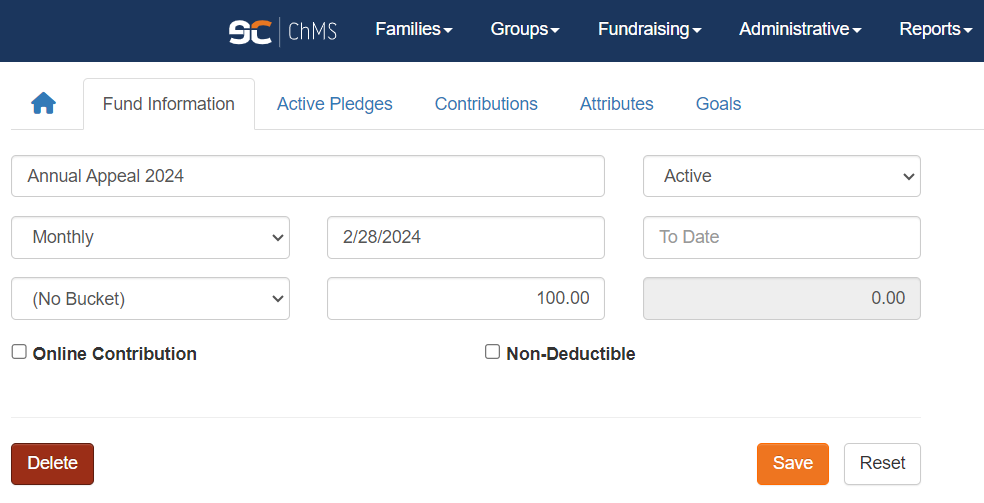
- Fund Description: Enter the name of the Fund. Fund names can be edited at anytime without impacting the pledge and/or contributions that were previously entered.
- Status: When creating a new fund leave the default Status as Active.
PRO TIP: You can change a fund's Status to Inactive if you are no longer using the fund. The fund will then move to the Inactive tab in Fund Maintenance. Pledge and contribution data still remain in the fund after it is made Inactive.
- Frequency: Optional field that allows you to set the frequency of the collection. For example, since the Diocese is running an Annual Appeal you may want to set the Frequency as Annually.
- From Date and To Date: Used to define the start and end date of the Annual Appeal.
- Annual Contribution Bucket: Used to group your funds into Buckets for Annual Statements. (This field is typically used at the parish level.)
- Fund Goal: Used to enter the Annual Appeal goal. As you enter contributions the blue box will update and you will have a quick snapshot of the goal vs. actual contributions.
- After entering your information, click Create. Your fund is now ready to accept pledges and contributions. When you next open the fund it will default to the Fund Information tab (where you can make edits to the fund's information as needed).