
Using Prebuilt Sections and Templates
Building a message doesn’t have to feel like starting from a blank canvas. With Connect’s composer, you’ve got two easy ways to reuse content you already have: you can start an entire message from a template, or simply drag in individual prebuilt sections. In this article, we’ll walk you through how to personalize what you drag in, so it fits your needs perfectly, and we’ll also show you how to save your own sections for reuse later so you can move faster next time.
In This Article:
Starting From a Template
The Connect Message Composer helps you create beautiful email messages quickly, with templates you can choose from right away. We’ve included several default templates to help you cover the many needs of a parish, school, or ministry. Plus, you’ll find liturgical season templates for Advent, Lent, and other important calendar observances. They are listed by category for easy access:
- Giving
- Newsletters
- School
- Seasonal
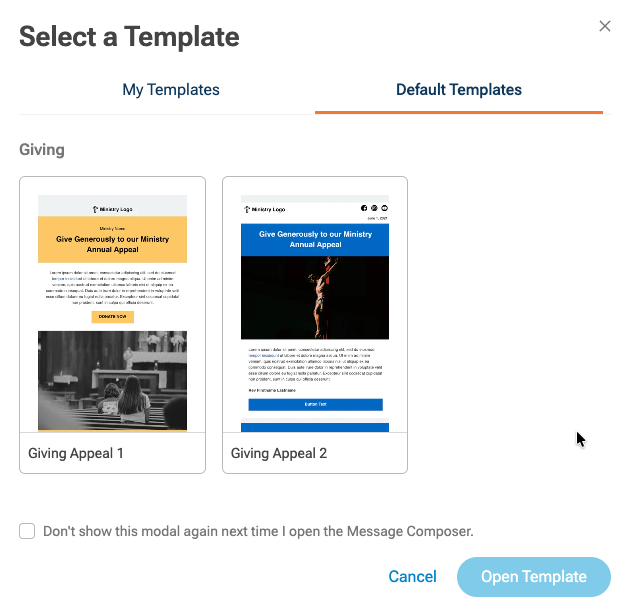
You can also save your own templates, complete with your branding and logos, so you can keep everything consistent and professional.
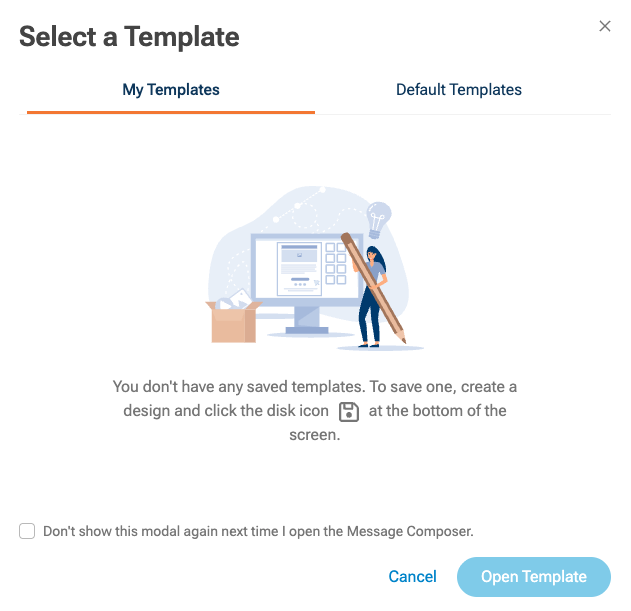
When you open a new message, you’ll see a Select a Template window with Default Templates you can start from. If you’d rather begin fresh, just choose Cancel to start from a blank message. For the full walkthrough of this step, see Creating and Sending a Message.
Browsing and Inserting a Prebuilt Section

For individual sections (instead of an entire message), you’ll want to use the Sections tab in the right sidebar. It makes it easy to find exactly what you need, with a handy search box to look up Sections by keyword. You can also browse by category; each one includes an “All” link so you can quickly see everything available in that category:
- Blank: layout-only rows, like a single column or a 50/50 split, with no content yet.
- Footers: parish name, address, and contact info, paired with social icons.
- Section - Mass: Mass times and schedule content.
- Parish Life: sample section for capital campaign
- Quotes: highlights an inspirational quote
- Announcements: sections that help share the news from your parish
- Events: sections to promote events happening at your parish/school/ministry.
- Headings: different options for section headings
Just drag a section thumbnail onto the canvas to add it to your message: quick and simple.
Customizing an Inserted Section
Once a prebuilt section is on the canvas, it works like anything you'd build yourself:
- Replace placeholder headings and paragraph text with your own copy.
- Swap out placeholder images using the Images stock search or your Uploads.
- Adjust colors to match your branding, using the same Color and Recent Colors tools you'd use on a custom section.
- Edit any embedded buttons (Action Type, URL, Target).
- Remove or rearrange pieces of the section if you don't need all of it.
One thing to note: some "logo" placeholders in these sections are actually built from a plain Image module rather than a dedicated Logo module, so don't be surprised if the settings panel says Image instead of Logo.
Saving Your Own Section for Reuse
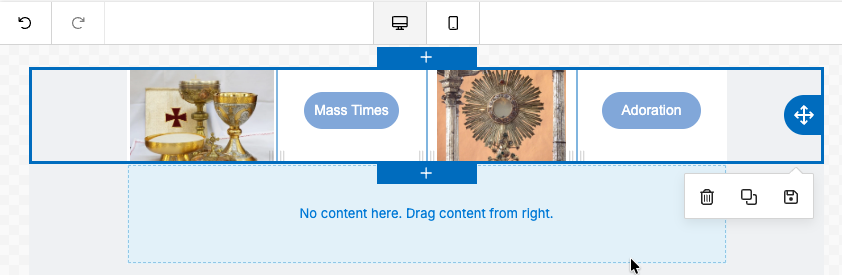
If you build a section you'll want again later, such as an announcement layout or a donation appeal, you can save it for future messages:
- Select the row on the canvas to reveal its action icons: delete, duplicate, and save.
- Click Save to open the Save Section window.
- Give it a Category (you can reuse one of the existing categories, such as Announcements or Events, or name a new one) and, optionally, Tags to help you search for it later.
Saved sections appear at the bottom of the Sections list, ready to drag into any future message.
When to Use Which Approach
- Prebuilt Sections are a good fit for standard, recurring content: announcements, appeals, events, footers.
- Building manually makes sense for one-off or highly custom layouts.
- Saving your own sections is worth doing for recurring content specific to your parish that isn't already in the default library.