
Creating and Sending a Message
Connect's message composer lets you build a branded email from scratch or from a template, using drag-and-drop content modules. This article walks through the full process, from opening the composer to sending your message. For details on any individual module's settings, see the Connect's Modules Toolbox article For prebuilt sections and reusable sections, see Using Prebuilt Sections and Templates.
In This Article:

Starting a New Message
- Go to Messages > Compose & Send.
- A Select a Template window opens first.
-
You can choose from My Templates, Default Templates to start from one of Connect's built-in layouts, or choose Cancel to start with a blank message. Check "Don't show this window again" if you'd rather skip this step in the future.
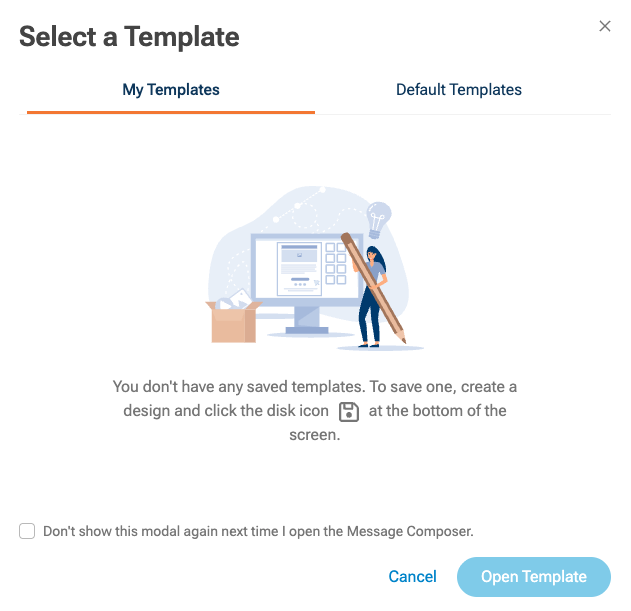
My Templates Tab 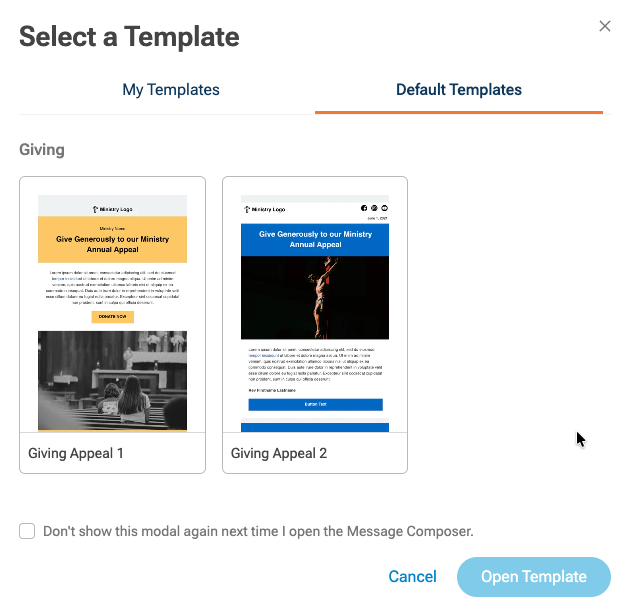
Default Templates Tab sorted into categories
-
- Click Open Template, or Cancel to work from a blank canvas.
- Fill in the header fields:
- To: the recipient group (for example, "All Members")
- From: the sending organization
- Subject: your message's subject line
- Optionally, check Also send this message via SMS text to also deliver the message as a text.
Getting to Know the Composer
Once your message is open, you'll see the message composer.

- Canvas (center): the live, editable message.
- Right-hand panel: settings for whatever you've currently selected on the canvas: a row, a heading, an image, and so on.
- Content Library (right sidebar icons): the modules you can drag onto the canvas (Columns, Logo, Heading, Paragraph, Image, Divider, Button, Video, Timer, Social).
- Additional tabs, also in the right sidebar: Sections (searchable prebuilt sections), Body (message-wide style defaults), Images (stock photo search), Uploads (your own images), and Audit (a pre-send error check).
- Top toolbar: Undo/Redo, plus a Desktop/Mobile toggle that switches the canvas itself into a mobile-width view so you can check responsive layout as you build.
- Bottom toolbar: an attachment icon, Templates, a delete icon, Preview, and Send Message.
Building Your Message

- Structure the layout first. Hover over the canvas to reveal blue + buttons above and below any row. Click one to insert a new row at that spot. Choose a layout (single column, 50/50 columns, etc.) from the Columns panel on the right.
- Drag in content modules. From the Content Library, drag modules like Heading, Paragraph, or Image into a row or column. Empty columns show a "No content here. Drag content from right." placeholder until you drop something in.
- Edit text directly on the canvas. Click into any heading or paragraph to type or paste your copy. Use the inline toolbar for bold, italic, lists, links, and more.
- Style each module using the right-hand panel. Settings vary by module type. See the Content Section Toolbox article for the full breakdown of each one.
- Move or reposition rows using the drag handle that appears when a row is selected.
- Use Undo/Redo in the top toolbar if you need to backtrack.
Keeping Your Branding Consistent
- When you set a color using a hex code, it's added to a Recent Colors swatch so you can re-apply the exact same color elsewhere in the message.
- The Body tab sets message-wide defaults: Text Color, Content Alignment, Font Family, and Font Weight, plus a separate color for links. New modules inherit these unless you override them individually.
Saving a Section for Reuse
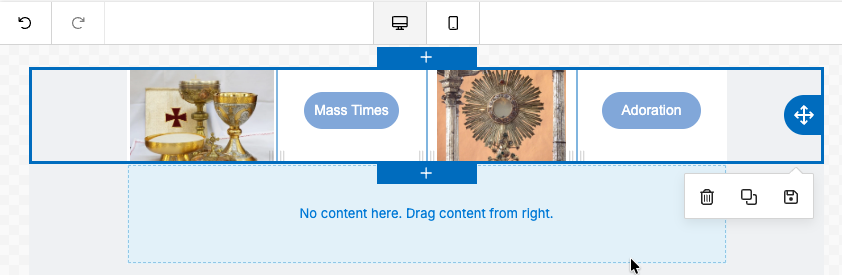
If you've built a row you'll want again later (an announcement layout, a donation appeal, etc.), select it and use the action icons that appear:
- Delete removes the row.
- Duplicate copies it within the current message.
- Save stores it as a custom section. You'll be asked to give it a Category and optional Tags. Saved sections show up at the bottom of the Sections list for use in future messages.
See Using Prebuilt Sections and Templates for more on this.
Checking Your Message Before You Send

Click the Audit tab to catch common mistakes before they go out. It flags issues like empty button links, listing each one with a jump-to arrow so you can fix it directly from the panel.
Note:
This is especially helpful when adding images to your messages. You will be prompted to add alternate text for accessibility needs.
Attaching Files to Your Message
Want to send your parishioners the weekly bulletin or include the flyer to the latest church event? You can attach files to your email message using the paperclip button in the lower left corner of the message composer.
Note:
The total file size limit is 25 MB for all the files you attach to your message.
Previewing Your Message
- Click Preview at the bottom of the composer.
- In the Message Preview window, toggle between Desktop and Mobile to check how the message renders on each.
- Scroll through the full message. The Subject line displays read-only at the top, and a View it in your browser link is included for troubleshooting display issues.
- Click Close to return to editing.
Sending Your Message
Once you're happy with the message, use the Send Message button (bottom right) to send it. For more information on the full send and scheduling flow, review these articles: