Family Explorer
IN THIS ARTICLE:
Using Search Bars

How to use columns and define search parameters
The following parameters can be set for each column of data by clicking on the kebab menu (3 circles) next to the column name.
- 1
- Change column position - Move any column to your desired position by clicking and dragging the column name into another spot along the field.
- 2
-
Add/Delete data columns - Open the kebab menu and select "columns" to reveal a list of the data fields available to view and search. There are 60+ fields available to users. By checking and unchecking the boxes it will either add or delete that column of data from your search screen.


For example, when searching registration dates the options will be: Is Equal To, Is Not Equal To, Is After, Is Before or Equal, etc. When searching Family Name the options will be: Contains, Is Equal To, Is Not Equal To.

Layout
Default Layout - This option will bring you back to the Family Explorer default layout.
Manage Layouts - This allows you to save up to 10 customized layouts. A saved layout will save the fields you have displayed on your screen, the ordering of these fields, and any filters you may have set. To add a saved layout, please do the following:
(1) Customize your screen however you'd like. You can add or remove certain fields, re-order the columns, and set filters.
(2) Then, select Layout > Manage Layouts.
(3) Click Add, type the name of this saved layout, and click Save.
Repeat Steps 1-3 up to 10 times to keep creating saved layouts. You can then toggle back and forth between your different layouts as well as the default layout. A checkmark will be displayed next to the saved layout you are currently using.
You can always delete, rename, or update a saved layout by selecting Layout > Manage Layouts. Within Manage Layouts, you also have the ability to customize the order in which your saved layouts appear. To do this, select the 3 horizontal bars next to your layout name, and drag it to the desired position.
To learn more about how to save layouts or to see it in action, please watch THIS video :)

Advanced Filter Tool
When selecting the Advanced filter from the toolbar, you’ll be able to define specific terms for pinpointing the exact data you desire. Simply select “Advanced” and then use the filtering toolbar’s three options.

Add Expression - Adding an expression allows you to choose specific criteria that helps to filter your data. Every time you select the Add Expression button, you will be given three fields to set your search criteria:
- Column name (e.g., Family Name, Status, etc.)
- The rule for how data is to be determined (e.g., contains, is equal to, etc.)
- The words or fields within the column that you are searching for (e.g., "Thomas", "Mary", etc.).
Using CONTAINS vs. IS EQUAL TO It is important to remember when determining the rule for how column data is considered, selecting “contains” will offer you more results than selecting “Is equal to.” Selecting "equal to" would only filter results that have the column data exactly as you typed your specification. For example, if you have the rule set to filter for parishes that equal St. Thomas, you will only get results entered exactly as that. Data entries that would be excluded could contain Parish names entered as Saint Thomas, St. Thomas Aquinas, or St. Thomas More.
Add Grouping - Adding a grouping to your filter specifications gives the option to fine-tune the results of a certain specification even further.
For example, if you are searching for families with the Family Name "Smith" OR "Johnson" and you want the "Johnson" families to only be from a "St. Mary" parish. Your filtration setting would be defined as: Select OR to identify two expressions that Family Name contains "Smith" OR "Johnson"; add a group underneath the "Johnson" specification to identify any Church Name that contains "Mary".
New Family
To add a new family to your database, simply click New Family. This will open up a blank family record where you can include any information you have. Click here for more information about creating new family records.
Actions
The following action items appear in a dropdown: (1) Send Message, (2) Download, (3) Mailing Labels, and (4) Add to My Church.
Note: You'll notice there are boxes next to the family names. The database will do a desired action (e.g. send a message) to all families if you checking the box next to the Family Name heading. If you would like to only do the action for a specific family or families, you can check the boxes next to these families' names.

You will check the box next to the Family Name heading or check whichever boxes you desire, select Actions, then choose whichever item you wish to perform. (Note: You can only add one family to your church at a time.)
Send Message
Send an email to all families defined in your current search screen. In order for a family to receive the email, they must have the Email Notifications box checked and they must have a valid email address listed within the Family Record. Emails sent through Family Explorer will go to families that meet this criteria, and will go to members who have both Email Notifications and Receive Family Alerts checked.
Download
Download a spreadsheet - either in .csv or .xlsx format - of all families and columns defined in your current search screen. The spreadsheet can be edited and converted to a table.
- 1
- Click on Families via the top navigation bar and select Family Explorer.
- 2
-
If applicable, add/remove/reorder the fields listed, and sort/filter your data how you desire.

Pro Tip: If you want to search for families using envelopes, use the Budget or Has Envelopes columns. To search for families who registered within a particular date range, use the Registered column.

Invite Families
Send families an email with a unique link inviting them to create Member Portal accounts. By creating a Member Portal account, families can view and edit certain parts of their family and member records.
Family Mail Labels
Generate Family Mail Labels for all families defined on your screen or for the families you've specified.
Important Note: Please be sure to select the Mailing Labels from the Actions dropdown rather than the Reports module. The Mailing Labels button found within the Reports module will not take into account any filters you've set (such as Active families only).

Annual Statements
Generate our PDF annual statements for families, creating personalized letters with each family's contribution history for the selected timeframe.
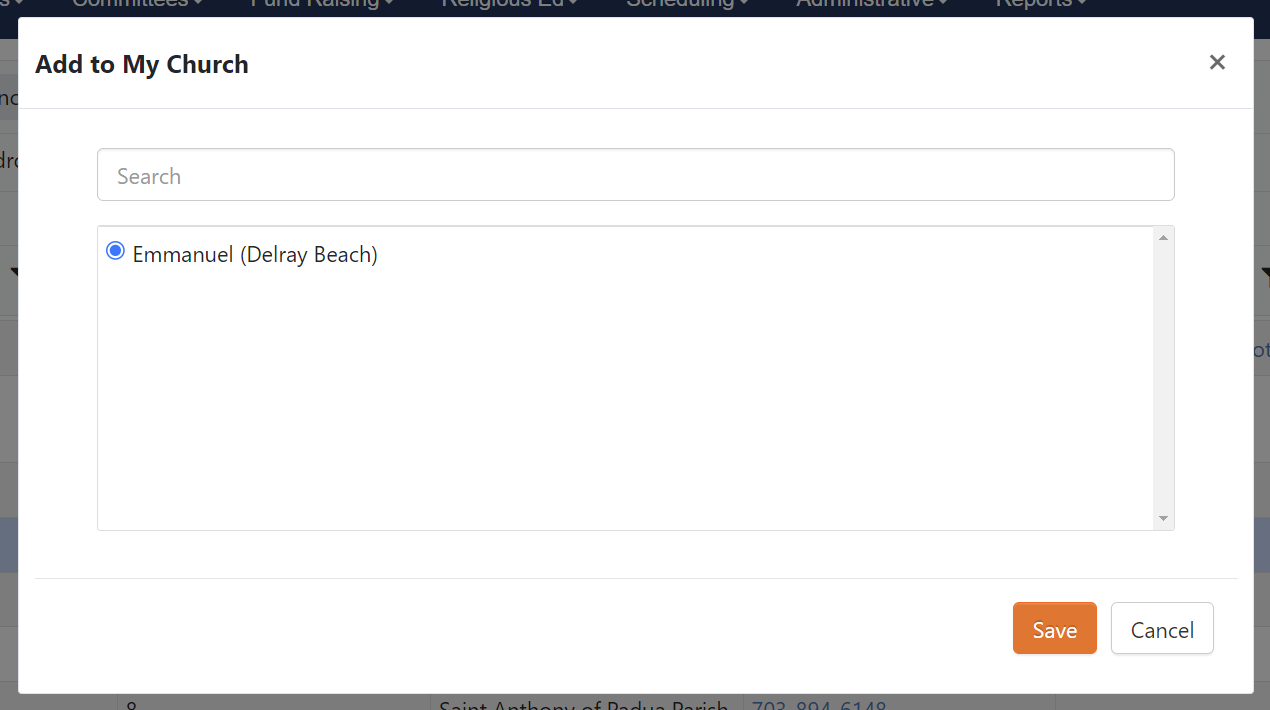
Add to My Church
To add a family to your church, you'll want to do the following:
- 1
- Navigate to Family Explorer then add Church ID and Church Name to your screen.